
Example of iOS 18 Tinted Widget Images
Sep 20, 2024

iOS 18 Introduces Home Screen Tinting
With iOS 18, Apple introduces home screen tinting, allowing users to customize widget appearances to match their theme or color scheme. This feature enhances the overall aesthetic and provides a more cohesive and visually appealing interface.
Widget's Image Tinting with widgetAccentedRenderingMode
To achieve this tinting effect, iOS 18 introduces a new modifier called
. This modifier allows developers to specify how the widget's images should be tinted, giving them control over the widget's appearance.widgetAccentedRenderingMode
Four Modes of widgetAccentedRenderingMode
widgetAccentedRenderingMode
The
modifier comes with four different modes, each offering a unique way to tint the widget's images:widgetAccentedRenderingMode
- accented
- accentedDesaturated
- desaturated:
- fullColor
Change NavigationBar Size with AdditionalSafeAreaInsets
Jun 21, 2020
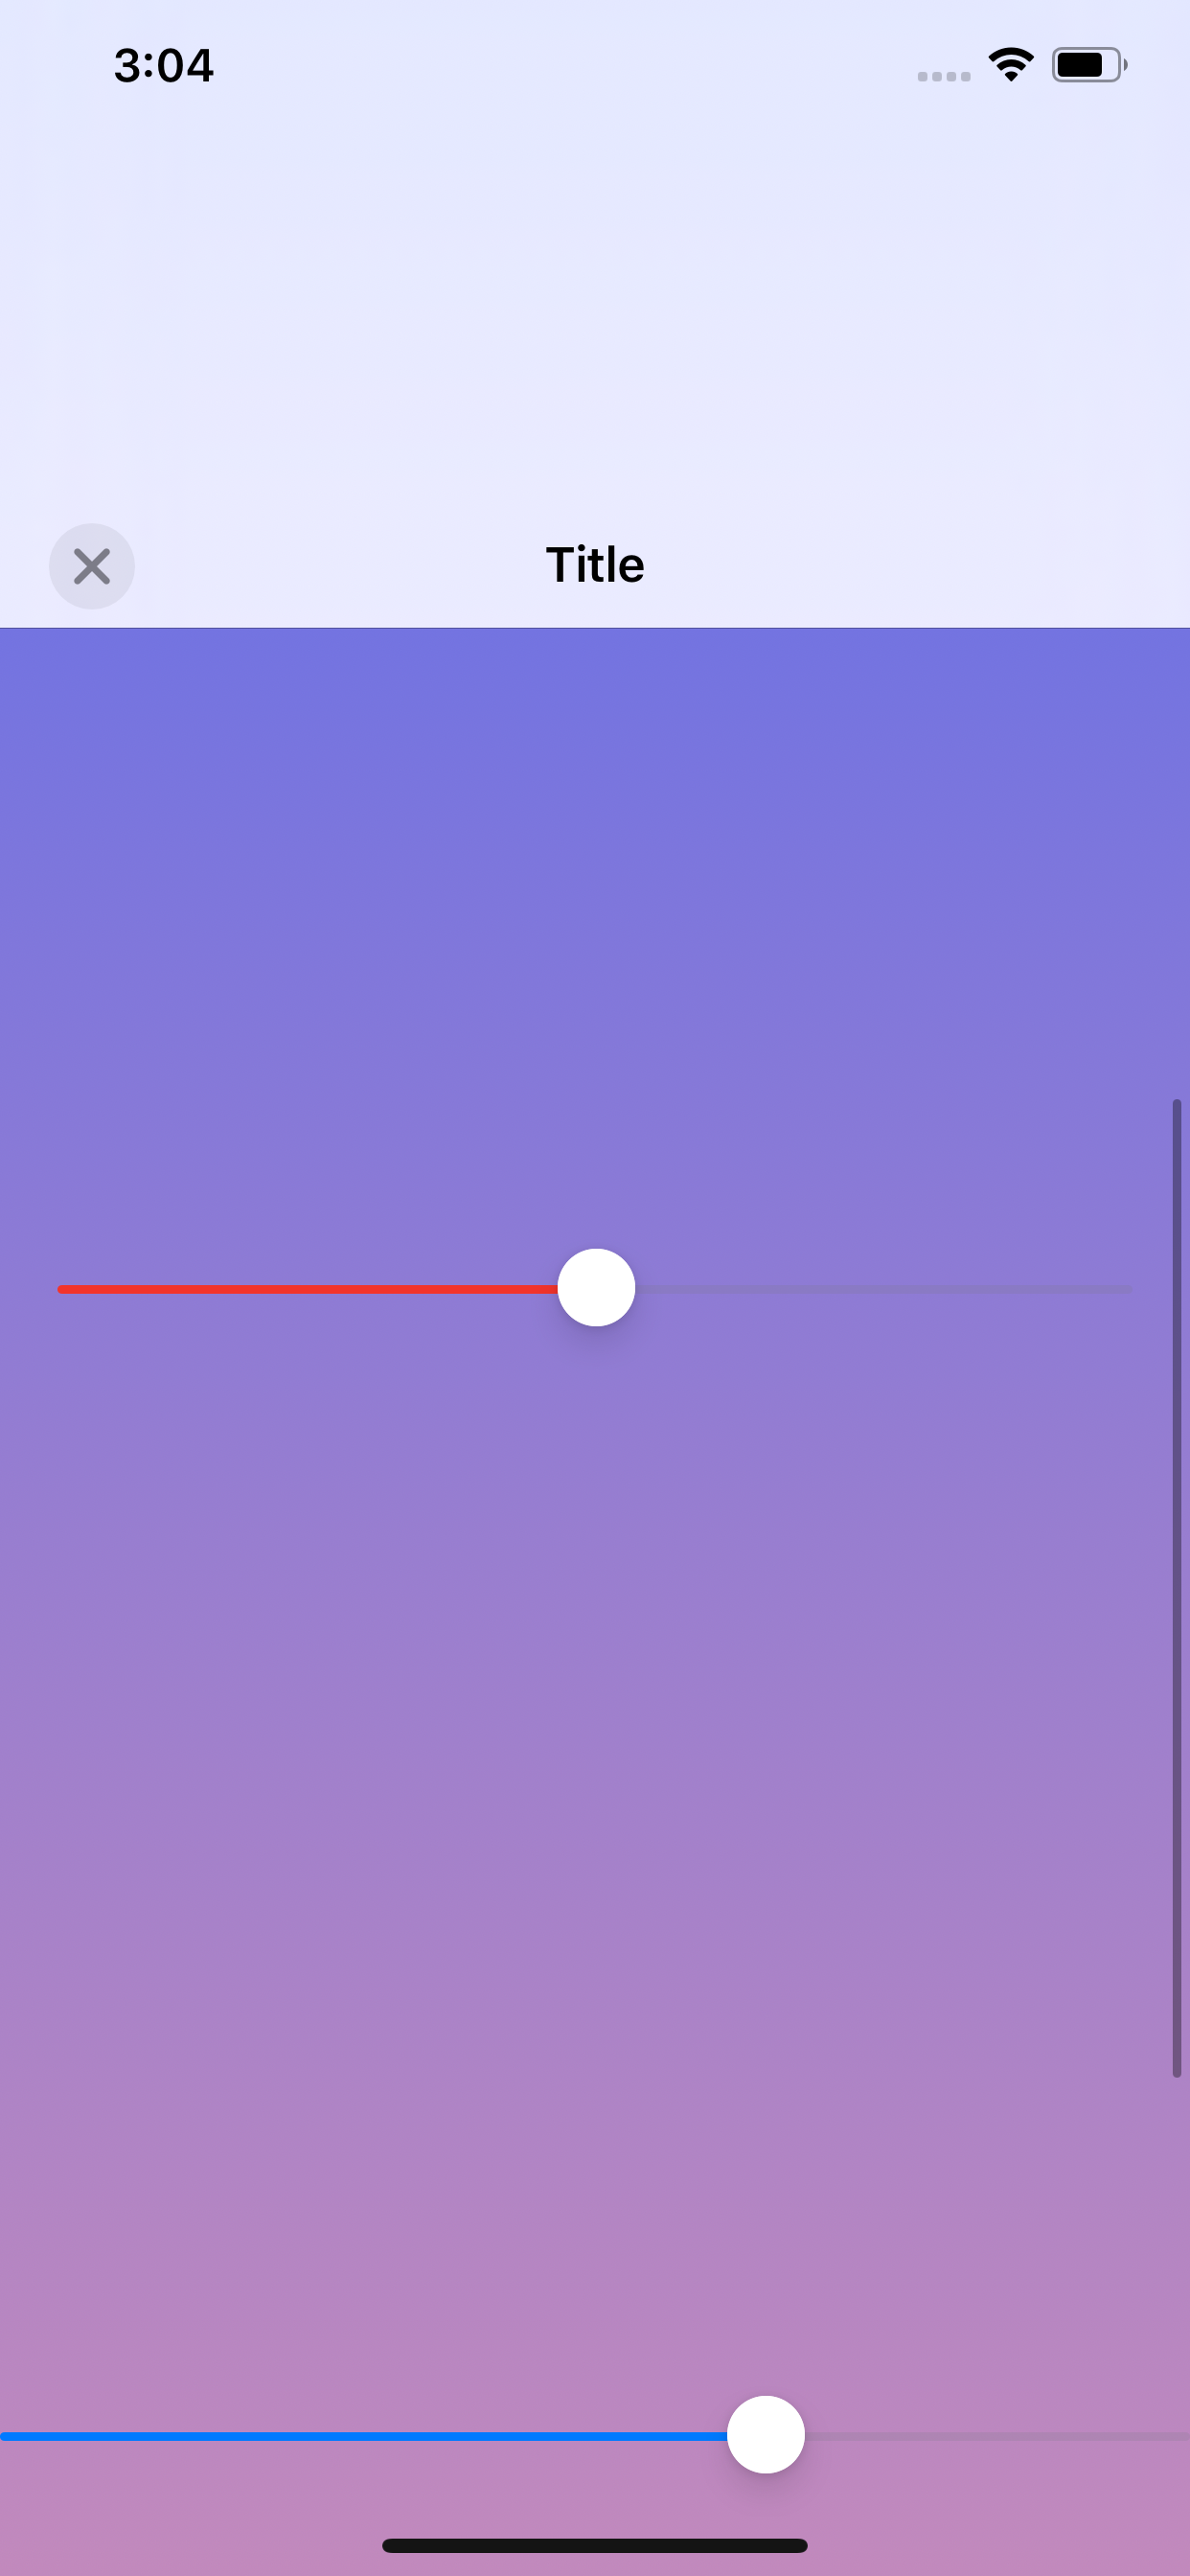
If you ever want something like this:
 simply add this line to your viewController

 simply add this line to your viewController
navigationController?.additionalSafeAreaInsets.top = 100// where 100 is the extra space
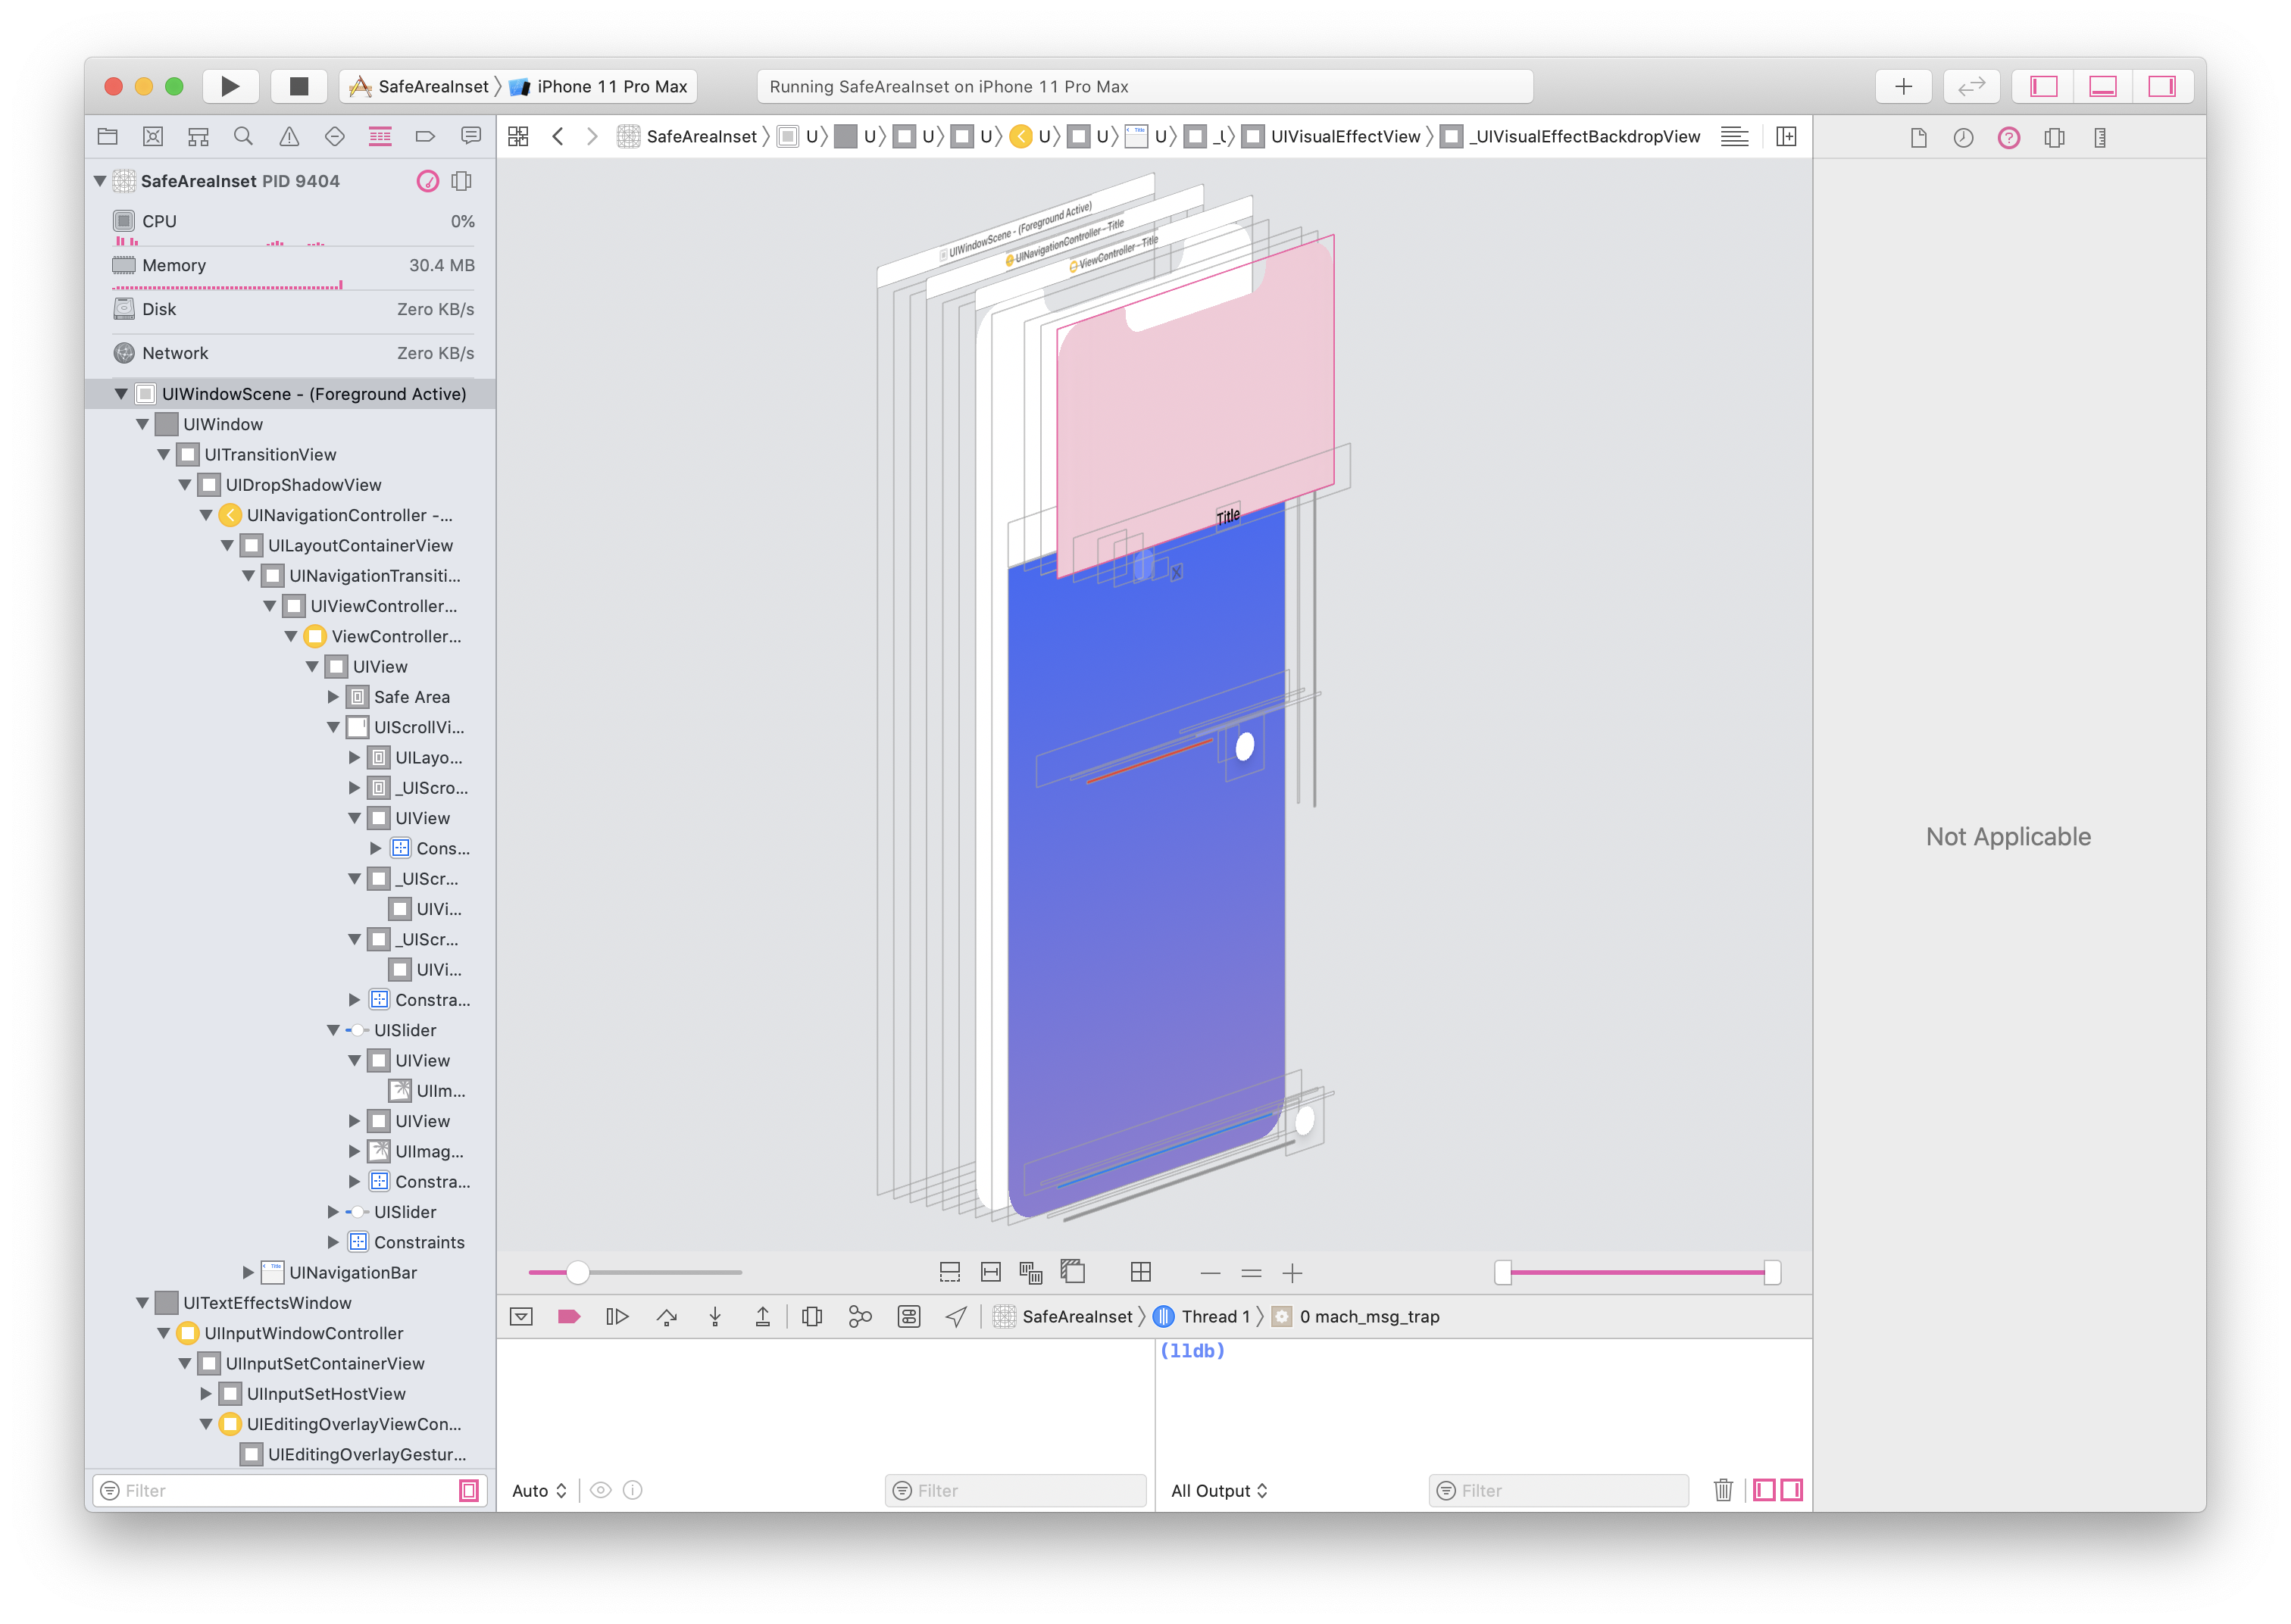
To see the code in action, I attached the following function to the BLUE slider
@IBAction func sliderSlided(_ sender: Any) {let top: CGFloat = (CGFloat(200 * ((sender as? UISlider)?.value ?? 1) - 0.5))navigationController?.additionalSafeAreaInsets.top = top}

Also notice that when the NavigationBar changes, the slideIndicator changes too, indicating change in the view's size.
I also add a RED slider with the following function:
@IBAction func slider2Slided(_ sender: Any) {let top: CGFloat = (CGFloat(100 * ((sender as? UISlider)?.value ?? 1)))additionalSafeAreaInsets.top = top}
Notice how RED slider resizes both the content and the Navigation Bar.
Moiving the BLUE slider after the RED to configure the navigationBar.
AdditionalSafeAreaInsets is traditionally use to change the safeAreaInset of the ViewController.
My take on Nested UINavigation
Apr 12, 2020
🎇🎇🎆
One day I just needed to push a UINavigation from a UINavigation, well, easy.

@IBAction func push_nav(_ sender: Any) {let navVC = UINavigationController(rootViewController: ViewController())navigationController?.pushViewController(navVC, animated: true)}
big red crash reason: ‘Pushing a navigation controller is not supported’
Let’s start over and from the anatomy of how this project will work. (We will not use Storyboard’s Segue, it’s here just to paint the picture)
Or download the finish code.
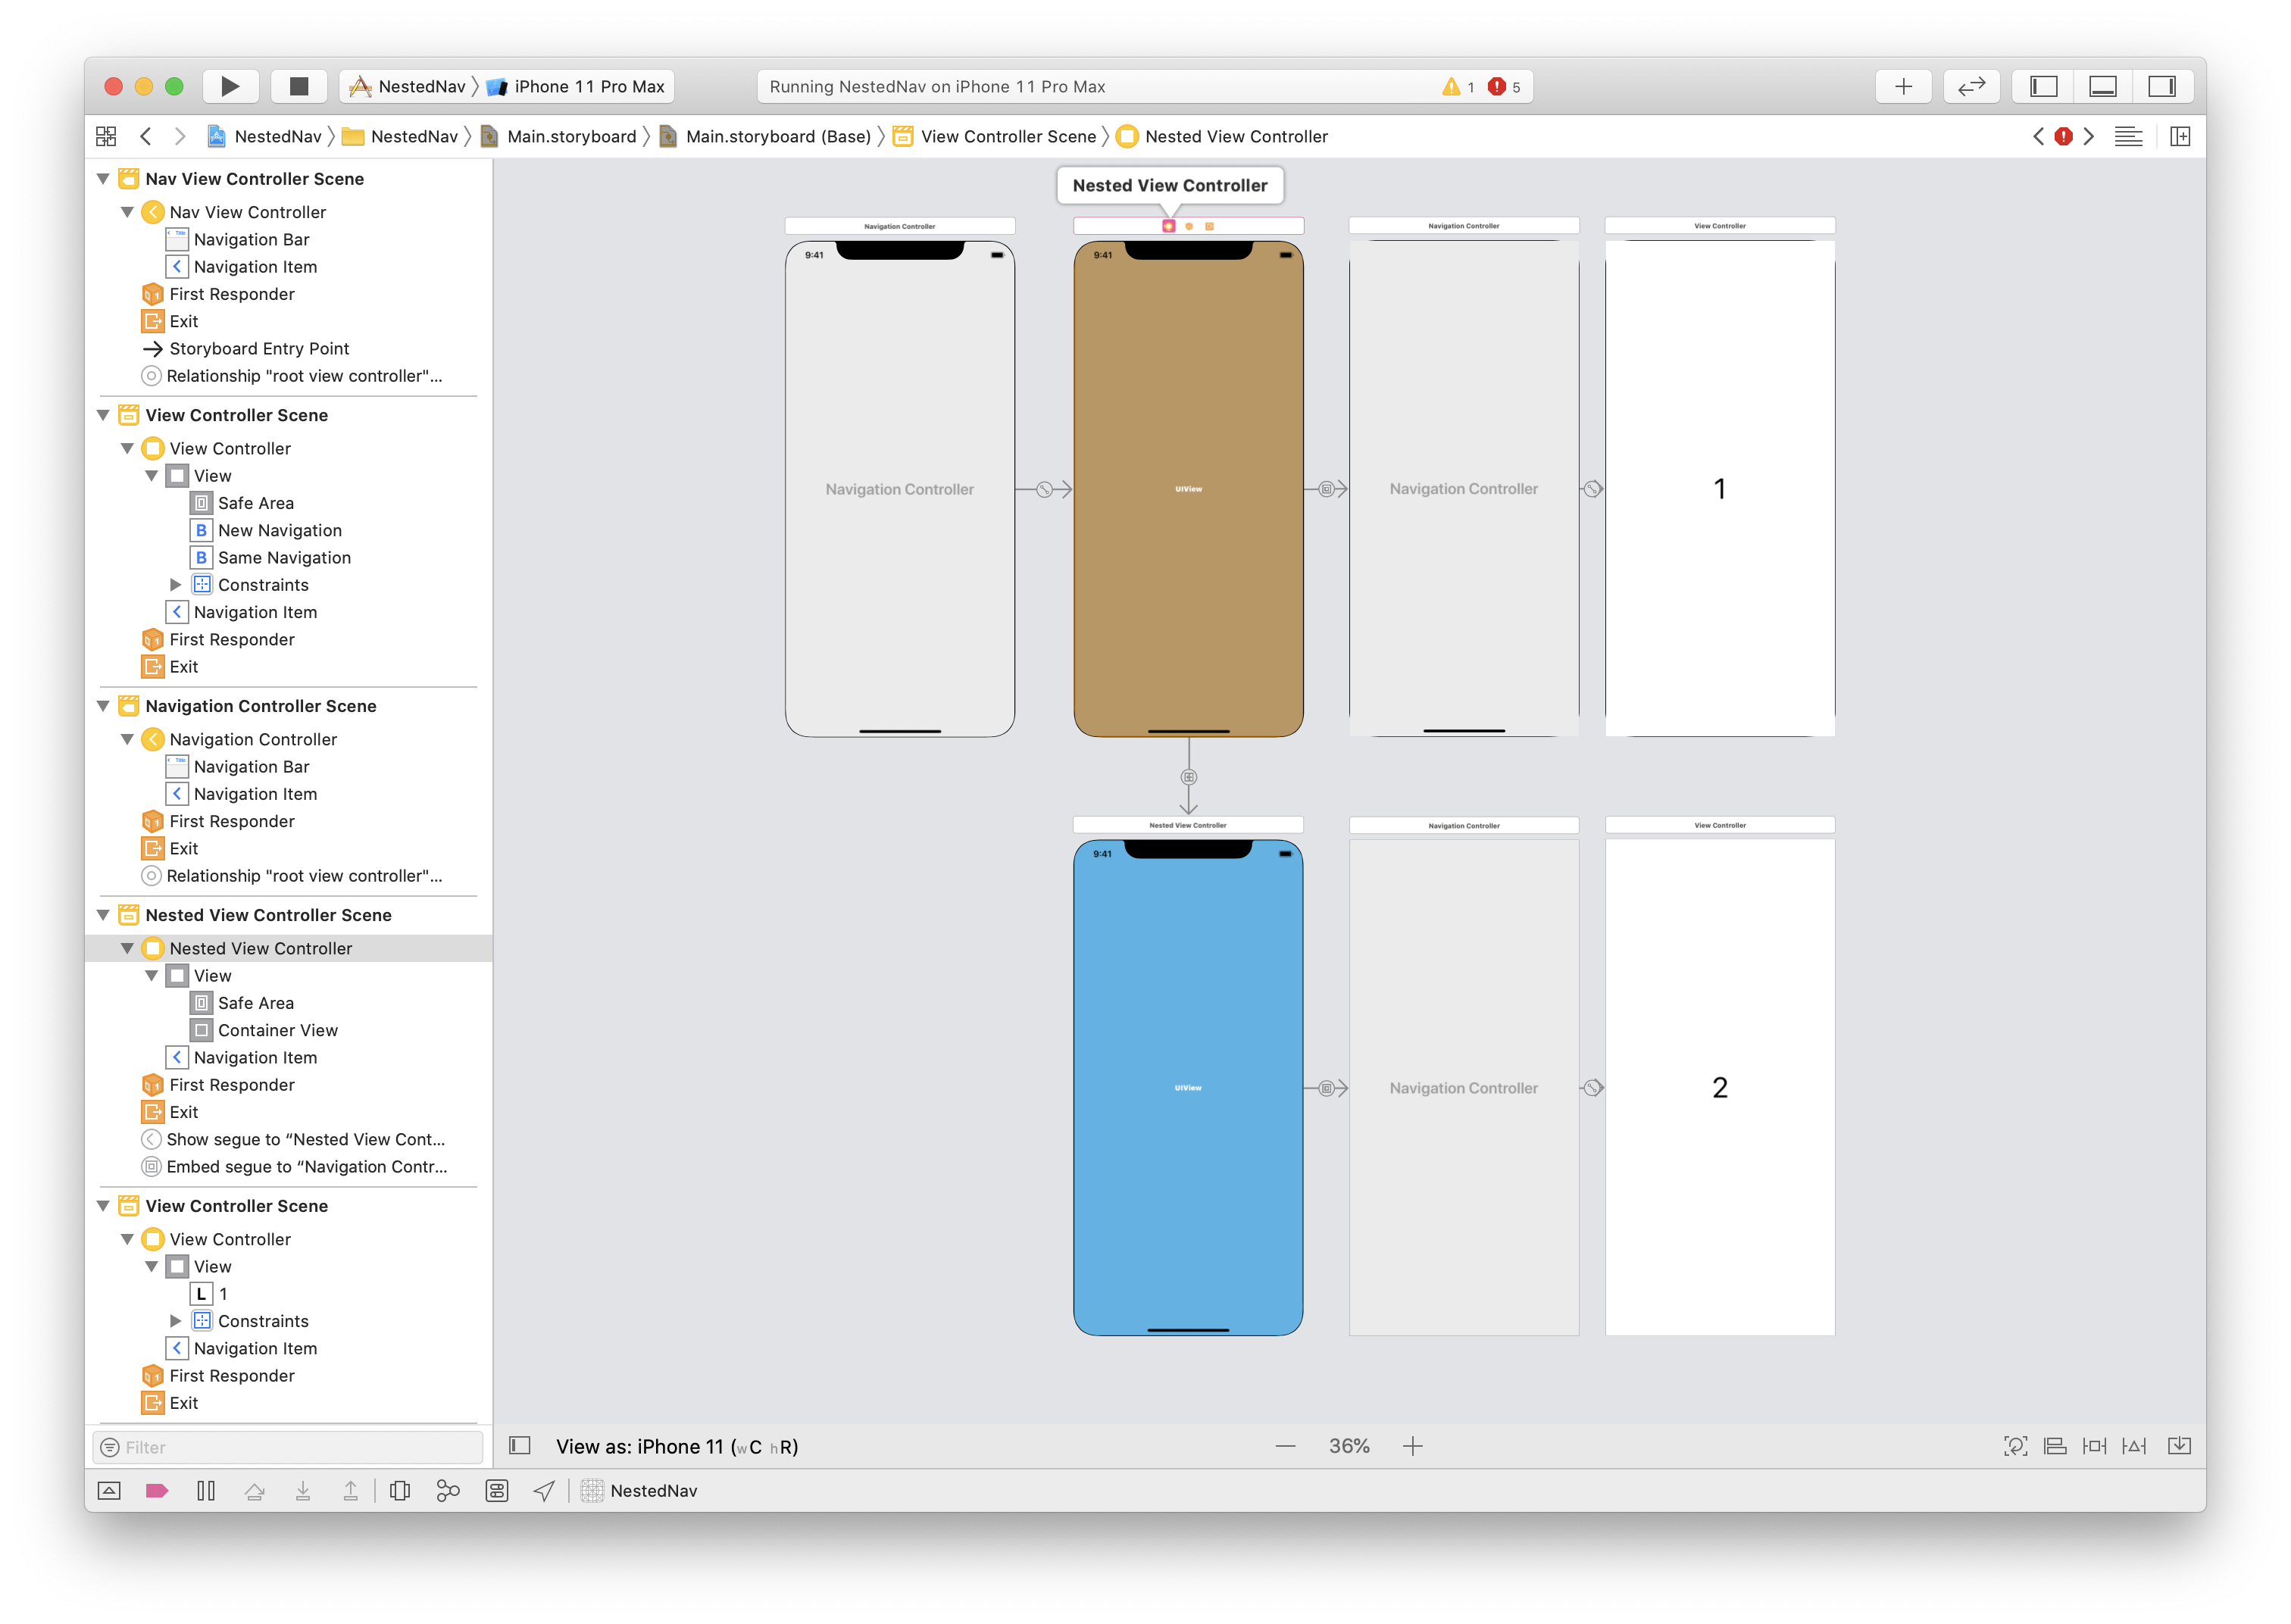
We still use UINavigationController as the parent but our children are more complex. Let’s focus on the brown ViewController.
- BrownVC (or NestedViewController) has an embed ViewController with UINavigationController as the embed VC.
- UINavigationController will present a VC with button “1”
- Button “1” will create another NestedViewController, blue one, and push BlueVC on to the Root UINavigation.
- We can repeat button “1” action multiple times.
We start by creating a new UINavigationController. I named it NavViewController
class NavViewController: UINavigationController {override func viewDidLoad() {super.viewDidLoad()// we’ll work here in a bit}
Create another subclass of UIViewController.
import UIKit class NestedViewController: UIViewController {var rootVC: UIViewControllerweak var rootNavigation: UINavigationController?// 1init(rootNavigation: UINavigationController) {guard let vc = rootNavigation.viewControllers.first else {fatalError(“root has not been initialized”)}self.rootVC = vcself.rootNavigation = rootNavigationsuper.init(nibName: nil, bundle: nil)}required init?(coder: NSCoder) {fatalError(“init(coder:) has not been implemented”)}override func viewDidLoad() {super.viewDidLoad()// 2let childNavigation = rootNavigation ?? UINavigationController(rootViewController: rootVC)childNavigation.willMove(toParent: self)addChild(childNavigation)childNavigation.view.frame = view.frameview.addSubview(childNavigation.view)childNavigation.didMove(toParent: self)childNavigation.navigationBar.isTranslucent = false// 3 rootVC.navigationItem.leftBarButtonItem =UIBarButtonItem(barButtonSystemItem: .close, target: nil, action: #selector(back))}@IBAction func back() {navigationController?.popViewController(animated: true)}}
-
We create a new init method, taking in an UINavigationController and assign the UINavigationController to variable.
-
In viewDidLoad() we insert UINavigationController’s view to NestedViewController.
-
Add a back button (optional)
open ViewController.swift and insert following method
@IBAction func new_nav(_ sender: Any) {let cvc = UIStoryboard(name: “Main”, bundle: nil).instantiateViewController(identifier: “ViewController”)let nestedVC = NestedViewController(rootNavigation: UINavigationController(rootViewController: cvc))var nav = navigationControllerwhile ((nav?.navigationController) != nil) {nav = nav?.navigationController}DispatchQueue.main.async {nestedVC.rootVC.navigationController?.navigationBar.barTintColor = UIColor.random()}nav?.pushViewController(nestedVC, animated: true)}
Open Main.storyboard and drag in a UINavigationController. Make the UINavigationController the initial ViewController and set the root child controller to ViewController
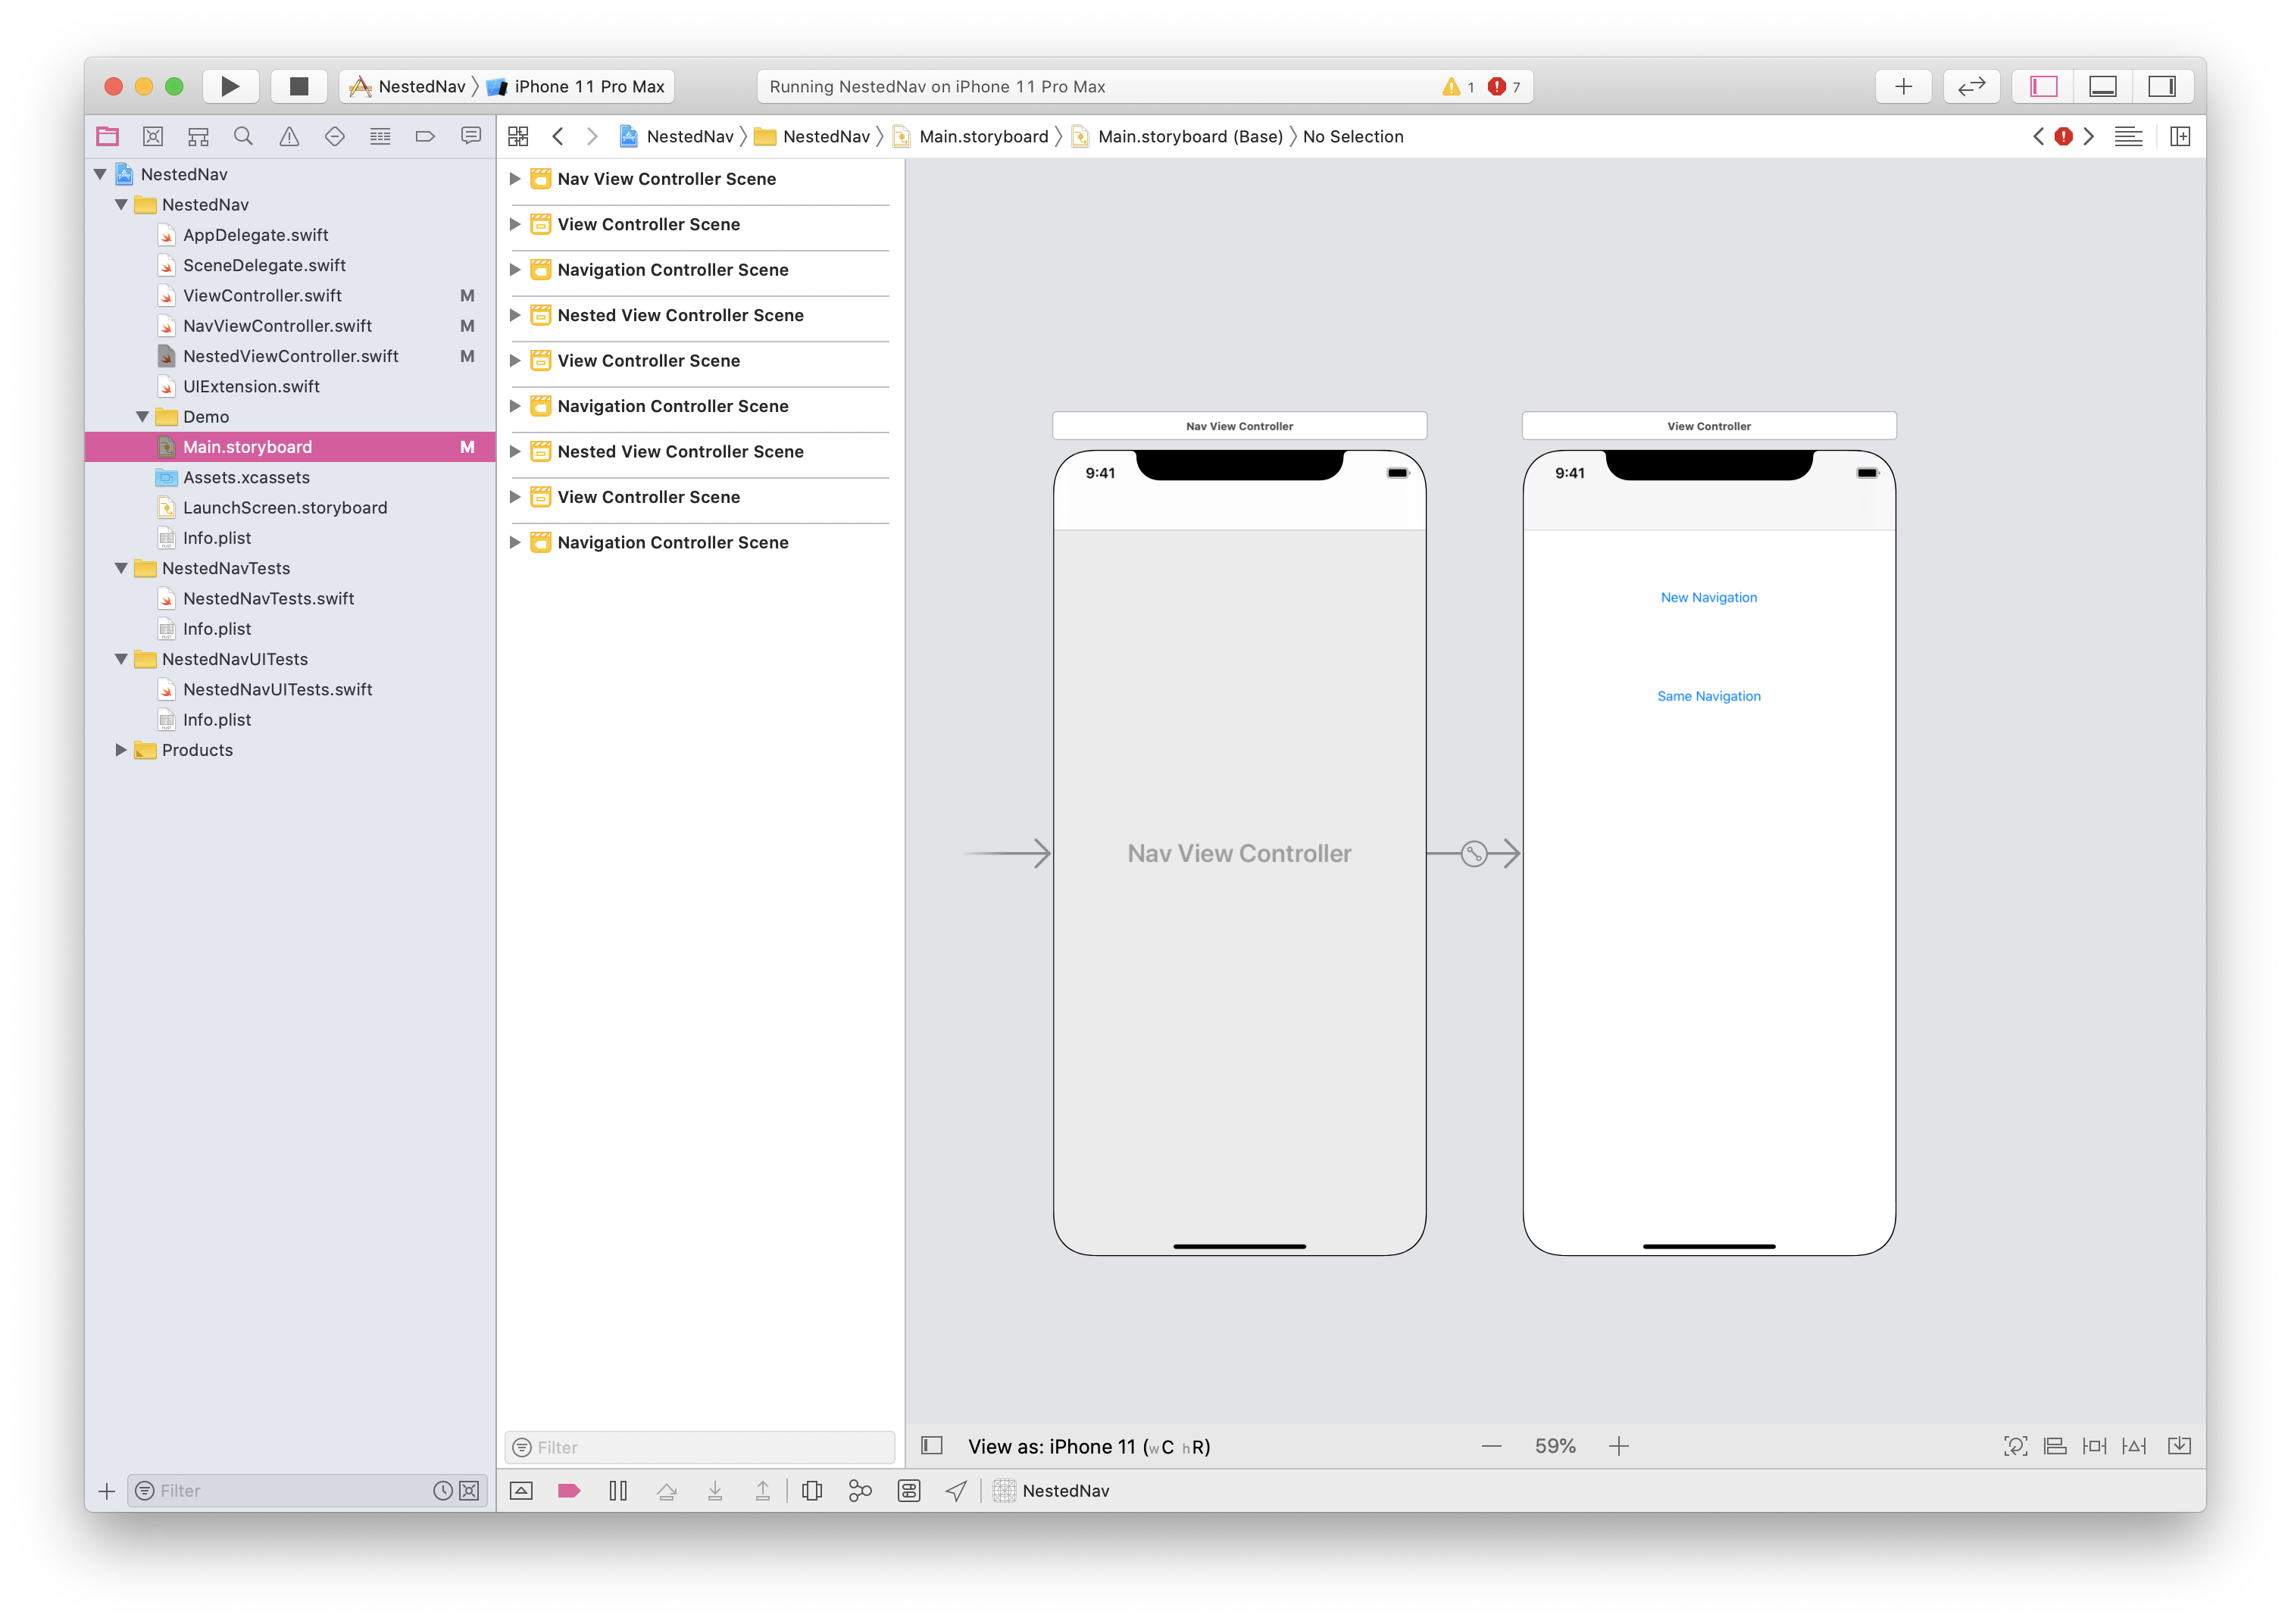
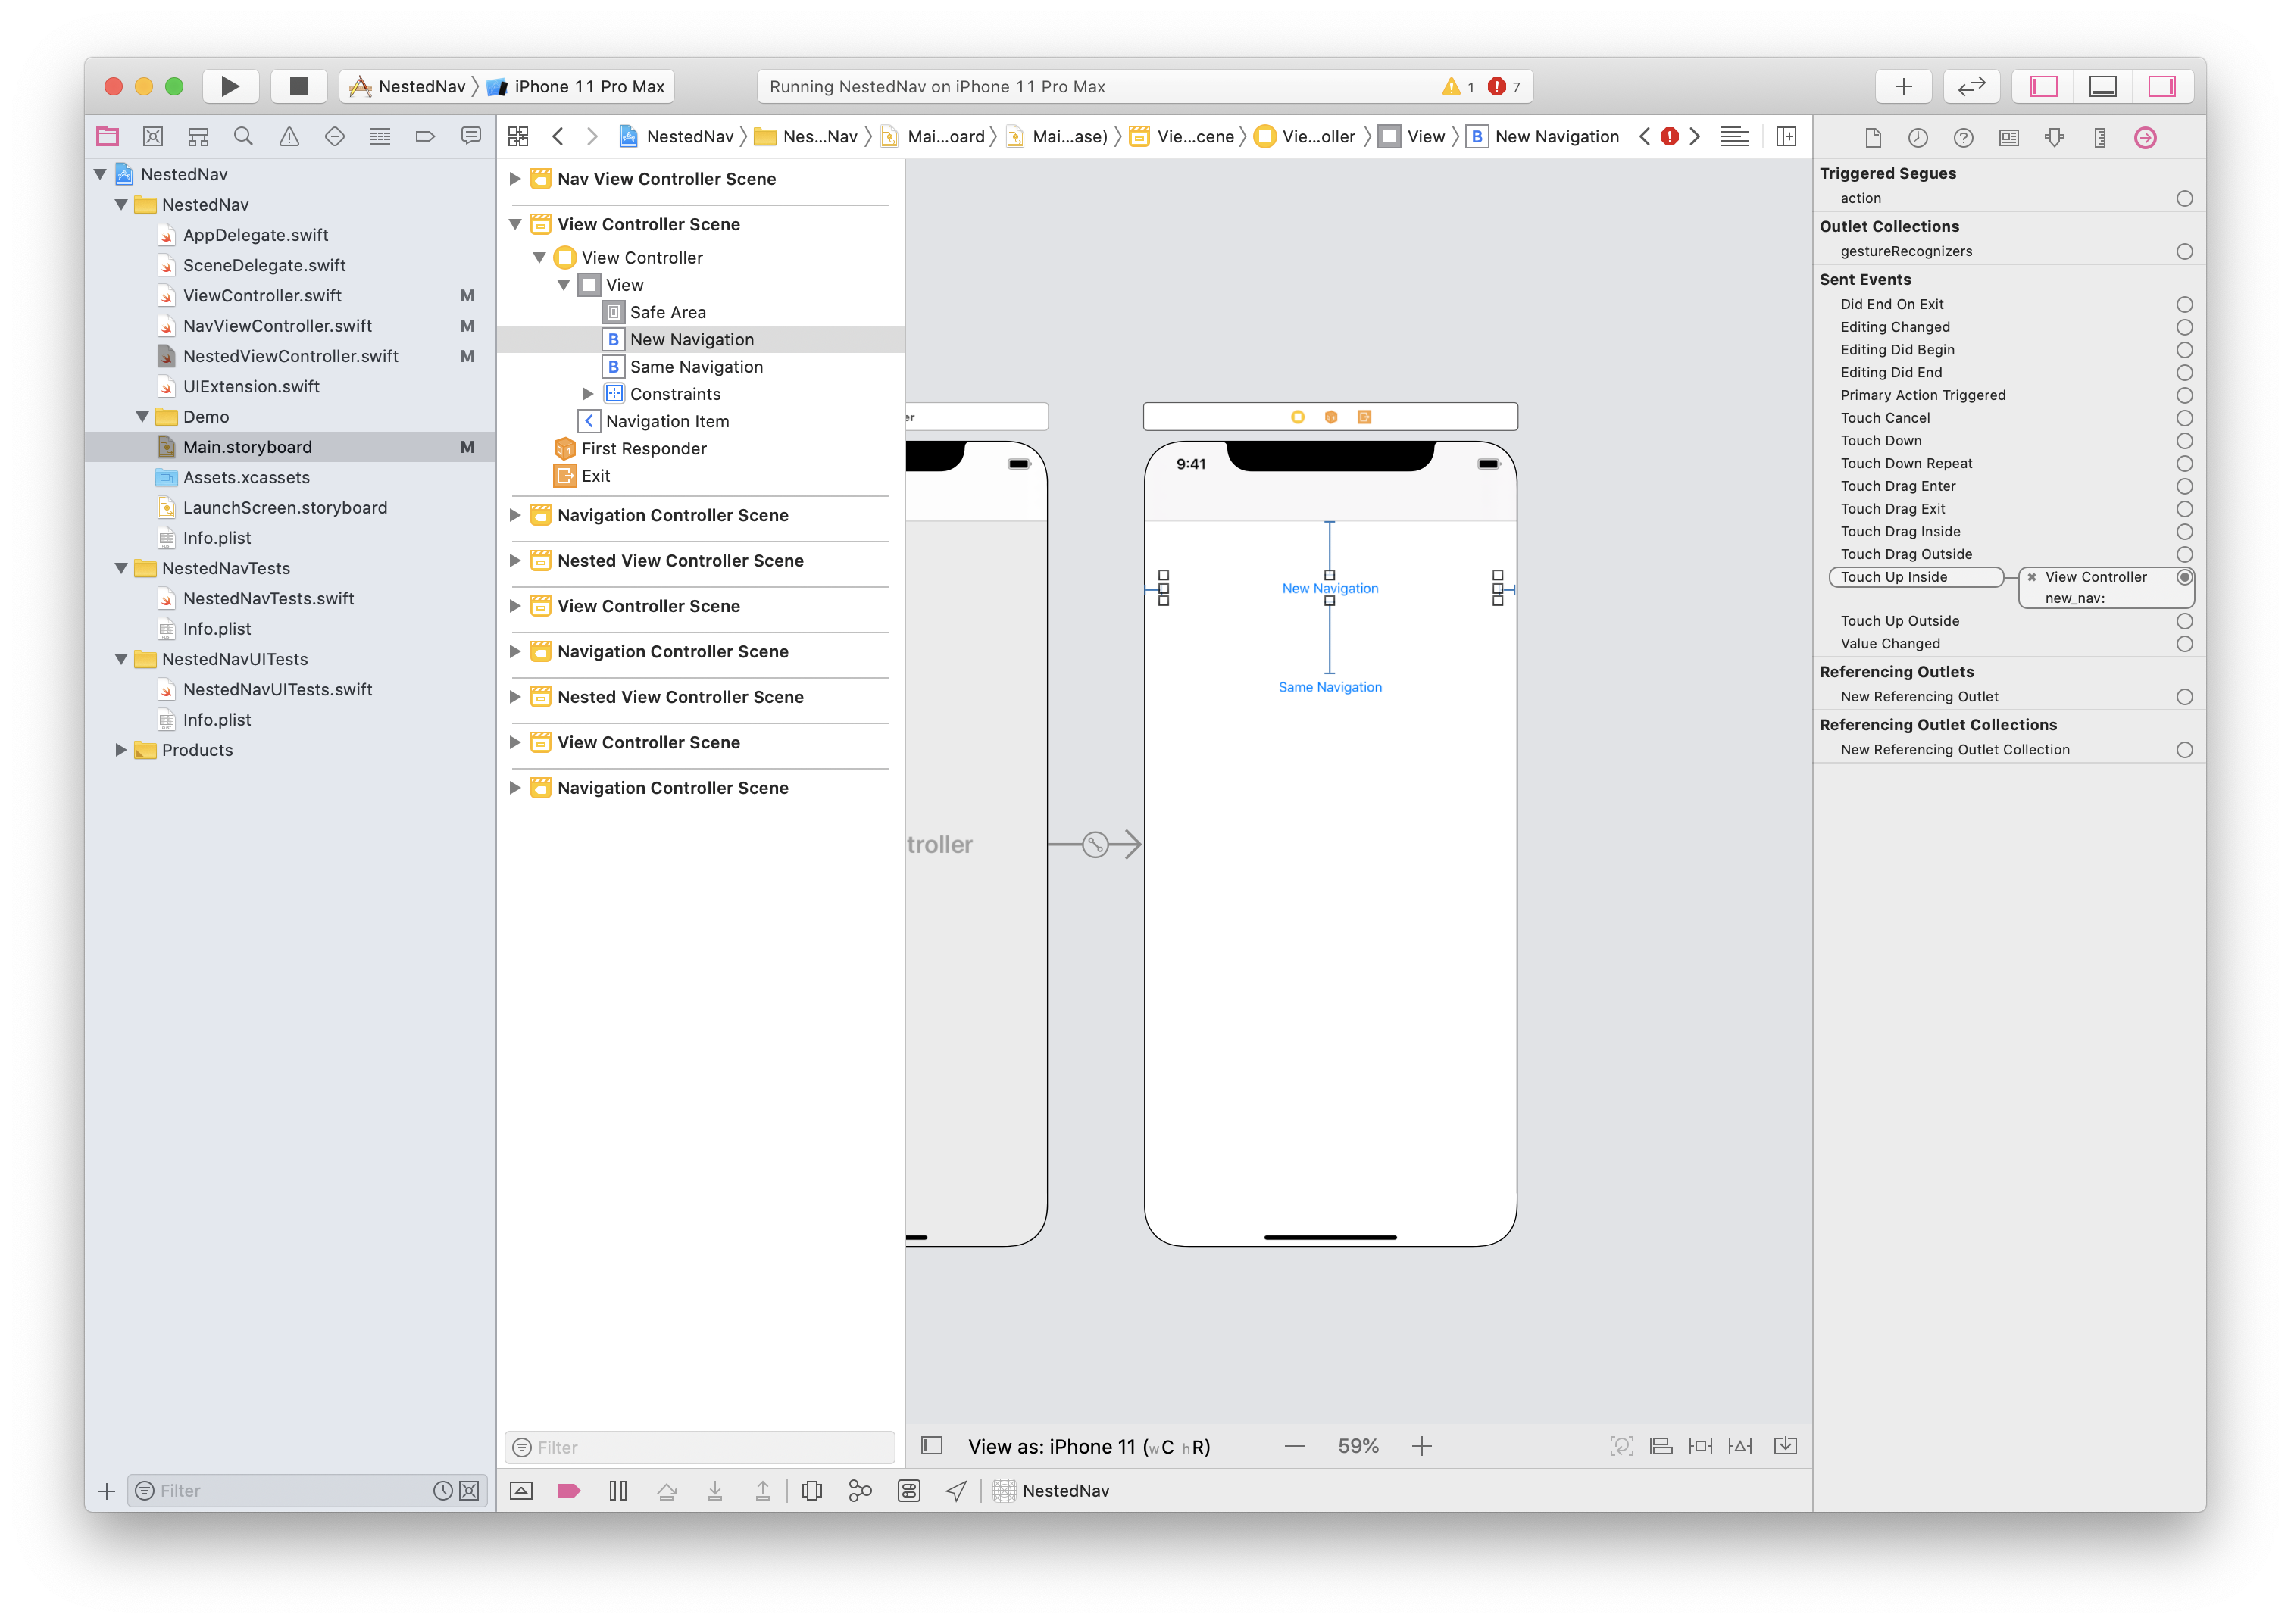
Drag in a new button to ViewController and assign touch up inside to new_nav.
Run and enjoy.
For now, our app will not accept slide back gesture. We will need to configure interactivePopGestureRecognizer.
Open NavViewController.swift and add the follow code to bottom of the file
final class AlwaysPoppableDelegate: NSObject, UIGestureRecognizerDelegate {weak var navigationController: UINavigationController?weak var originalDelegate: UIGestureRecognizerDelegate?override func responds(to aSelector: Selector!) -> Bool {if aSelector == #selector(gestureRecognizer(_:shouldReceive:)) {return true} else if let responds = originalDelegate?.responds(to: aSelector) {return responds} else {return false}}override func forwardingTarget(for aSelector: Selector!) -> Any? {return originalDelegate}func gestureRecognizer(_ gestureRecognizer: UIGestureRecognizer, shouldReceive touch: UITouch) -> Bool {return true}}protocol Nested {var canNestedSwipeBack: Bool {get set}}
Declare a new variable for NavViewController
private let alwaysPoppableDelegate = AlwaysPoppableDelegate()
Inside NavViewController’s viewDidLoad() add these code
setNavigationBarHidden(true, animated: false)self.navigationBar.isOpaque = truealwaysPoppableDelegate.navigationController = selfinteractivePopGestureRecognizer?.delegate = alwaysPoppableDelegate
Here we assign a new interactivePopGestureRecognizer. Build and run.
The swipe back’s working now but if you’re viewing the completed code you’ll notice another block inside AlwaysPoppableDelegate.
Go back to AlwaysPoppableDelegate’s gestureRecognizer and change the inside to.
func gestureRecognizer(_ gestureRecognizer: UIGestureRecognizer, shouldReceive touch: UITouch) -> Bool {if let nav = navigationController, nav.isNavigationBarHidden, nav.viewControllers.count > 1 {// extra for nested nav viewcontrollersif let nested = (nav.viewControllers.last as? Nested) {return nested.canNestedSwipeBack} else if let nestedVC = (nav.viewControllers.last as? NestedViewController) {return (nestedVC.rootNavigation?.viewControllers.count ?? 0) <= 1} return true} else if let result = originalDelegate?.gestureRecognizer?(gestureRecognizer, shouldReceive: touch) {return result} else {return false}}
gestureRecognizer(_ gestureRecognizer: UIGestureRecognizer, shouldReceive touch: UITouch) is fired when we are performing the swipe back gesture. We override the method to check for nested child array. To see this for yourself, add another button to ViewController and assign it to this method:
@IBAction func same_nav(_ sender: Any) {let cvc = UIStoryboard(name: “Main”, bundle: nil).instantiateViewController(identifier: “ViewController”)navigationController?.pushViewController(cvc, animated: true)}
We are presenting another ViewController inside the nested UINavigationController but if we swipe back, there’s a chance that the whole stack will be removed.
Our new gestureRecognizer(_ gestureRecognizer: UIGestureRecognizer, shouldReceive touch: UITouch) checks for this and cancel the touch that will remove a whole stack.
Build and run and ask any questions.
Dynamic Type and View Layout
Aug 8, 2019
👓🌳
 Replicating Apple’s Dynamic Type just like in Apple stock apps.
Download Project
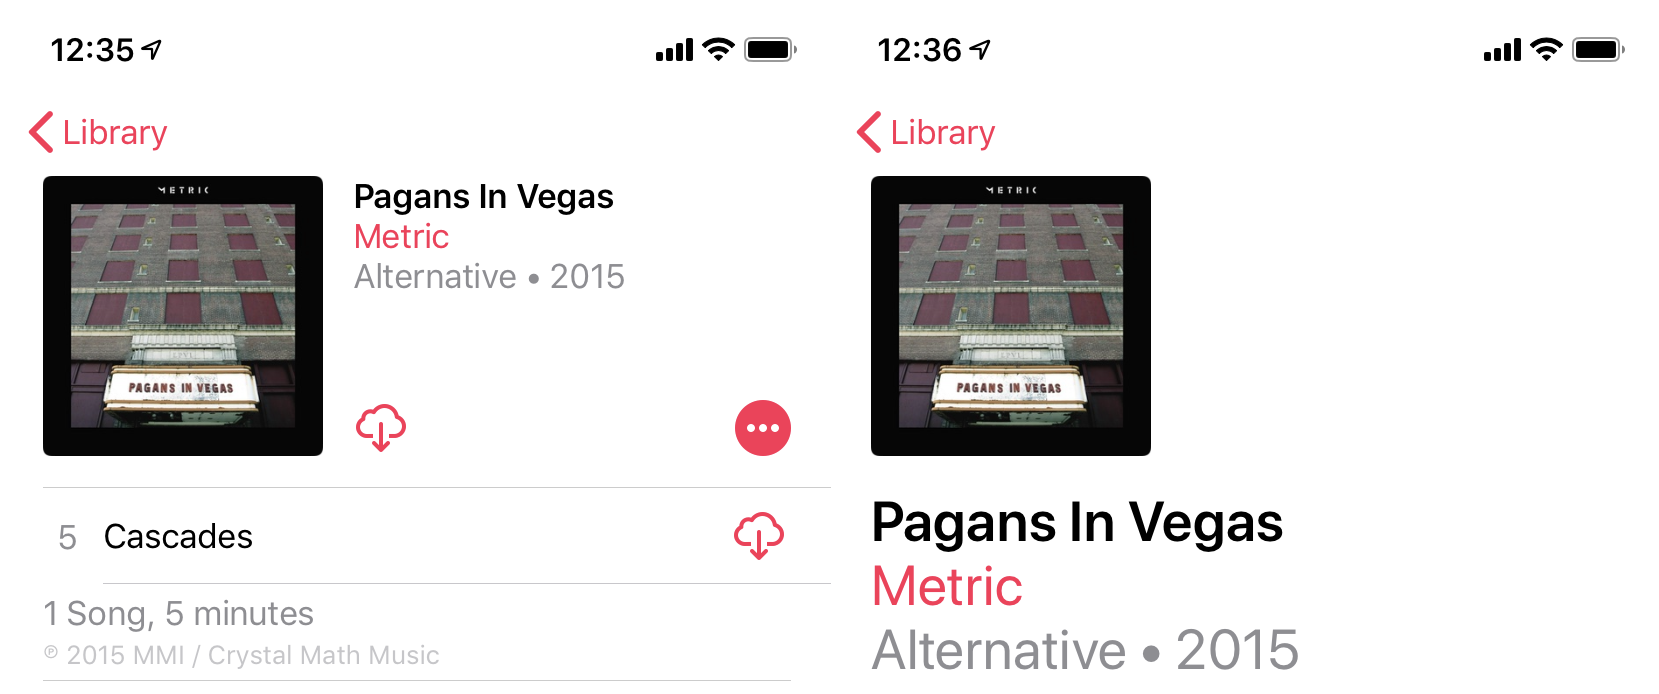
Apple enables user to change the font size of there app and Apple app set a good example in there app such as Music and Contact. You can play around with the setting by going in Setting > Accessibility > Larger Text then flip the switch and drag the bar to maximum. When you go back to Apple Music app, the layout will change.
Replicating Apple’s Dynamic Type just like in Apple stock apps.
Download Project
Apple enables user to change the font size of there app and Apple app set a good example in there app such as Music and Contact. You can play around with the setting by going in Setting > Accessibility > Larger Text then flip the switch and drag the bar to maximum. When you go back to Apple Music app, the layout will change.
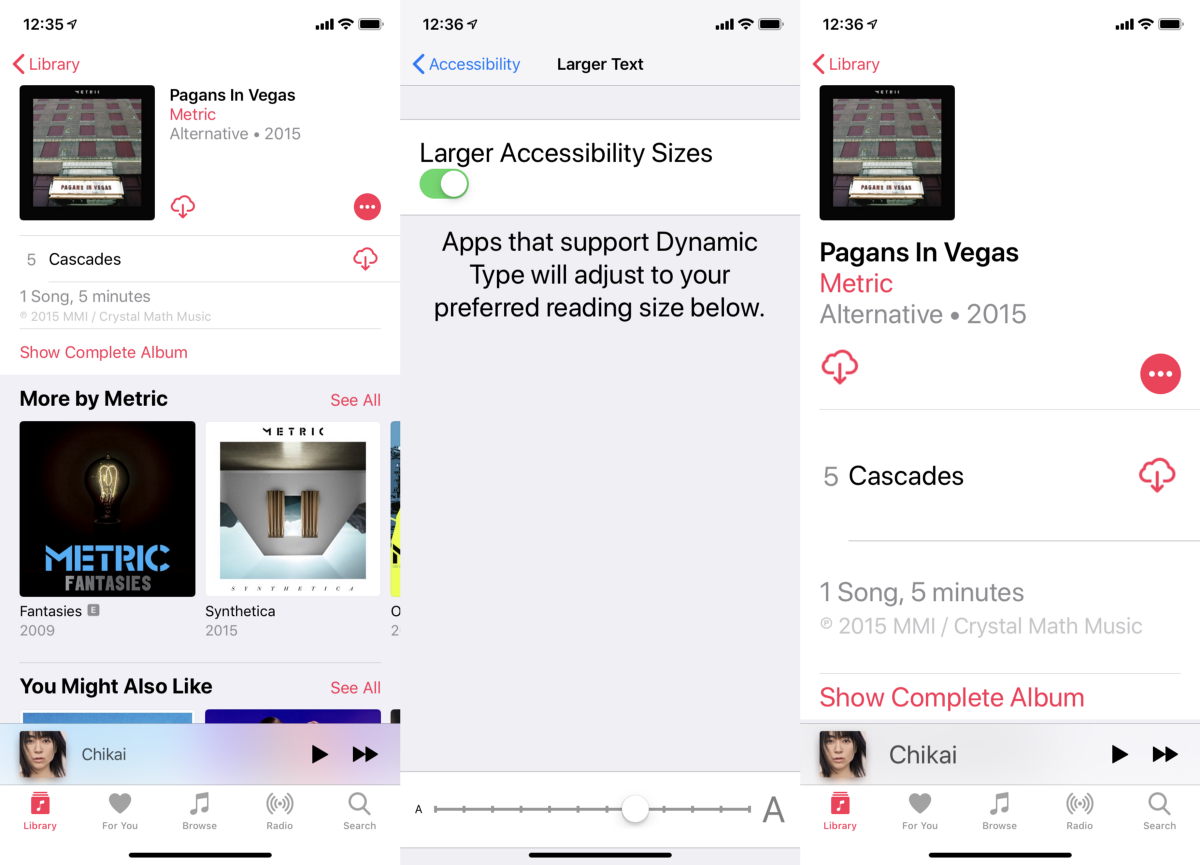 before and after
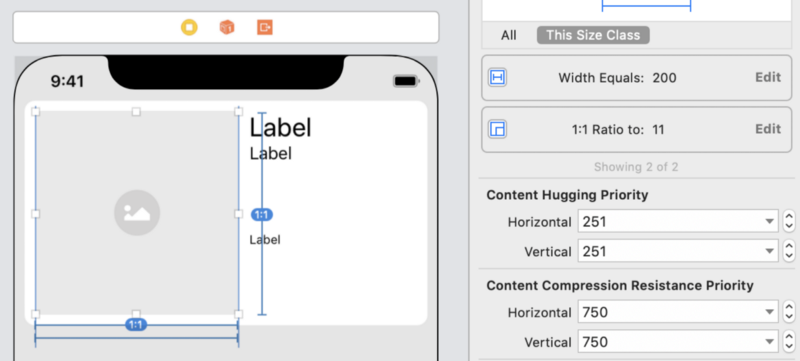
We begin by creating a new project. In storyboard we put a nested stackView. Outside stackView contains imageView and a stackView with all the lables. Put constraints accordingly.
before and after
We begin by creating a new project. In storyboard we put a nested stackView. Outside stackView contains imageView and a stackView with all the lables. Put constraints accordingly.
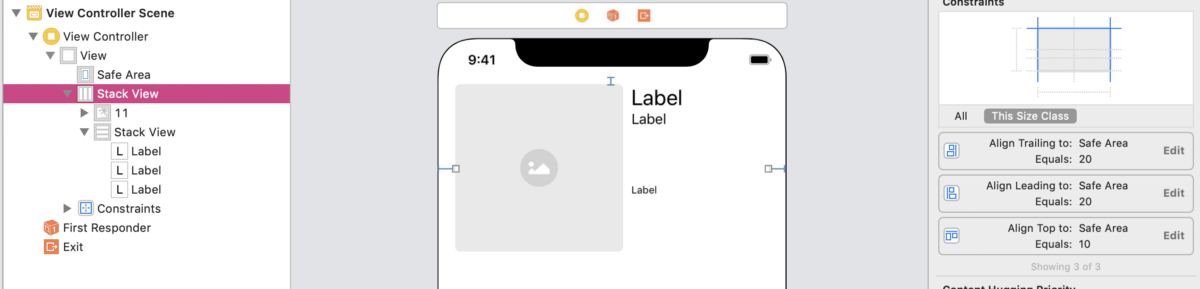 We also constraint imageView with aspect ratio and width.
 Connect outside stackView to its viewController.
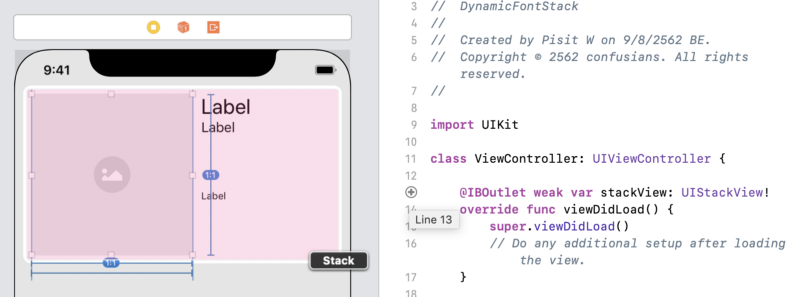 Then we add the following code

 Replicating Apple’s Dynamic Type just like in Apple stock apps.
Download Project
Apple enables user to change the font size of there app and Apple app set a good example in there app such as Music and Contact. You can play around with the setting by going in Setting > Accessibility > Larger Text then flip the switch and drag the bar to maximum. When you go back to Apple Music app, the layout will change.
Replicating Apple’s Dynamic Type just like in Apple stock apps.
Download Project
Apple enables user to change the font size of there app and Apple app set a good example in there app such as Music and Contact. You can play around with the setting by going in Setting > Accessibility > Larger Text then flip the switch and drag the bar to maximum. When you go back to Apple Music app, the layout will change.
 before and after
We begin by creating a new project. In storyboard we put a nested stackView. Outside stackView contains imageView and a stackView with all the lables. Put constraints accordingly.
before and after
We begin by creating a new project. In storyboard we put a nested stackView. Outside stackView contains imageView and a stackView with all the lables. Put constraints accordingly.
 We also constraint imageView with aspect ratio and width.
 Connect outside stackView to its viewController.
 Then we add the following code
//// ViewController.swift//import UIKitclass ViewController: UIViewController {@IBOutlet weak var stackView: UIStackView!override func viewDidLoad() {super.viewDidLoad()// Do any additional setup after loading the view.}//1 override func traitCollectionDidChange(_ previousTraitCollection: UITraitCollection?) {super.traitCollectionDidChange(previousTraitCollection) //2if previousTraitCollection?.preferredContentSizeCategory != traitCollection.preferredContentSizeCategory {let contentSize = traitCollection.preferredContentSizeCategoryif contentSize.isAccessibilityCategory {stackView.axis = .verticalstackView.alignment = .leadingstackView.spacing = 2} else {stackView.axis = .horizontalstackView.alignment = .centerstackView.spacing = 6}}}}
We add a
override func traitCollectionDidChange(_previousTraitCollection:UITraitCollection?)
To detect when font size changes.
We check whether user is using accessibility font scale and change our stackView accordingly.
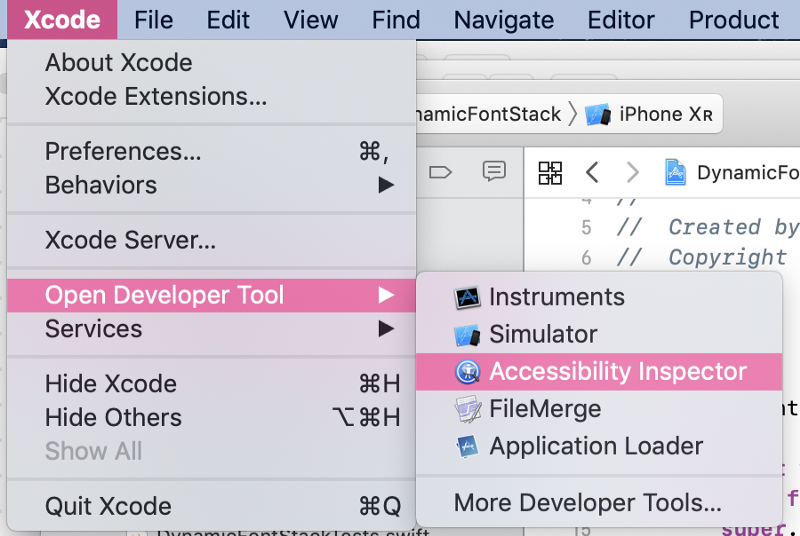
You can use Xcode’s Accessibility Inspector to control Font size on your simulator.
 This post is inspired by UseYourLoaf’s blog

 This post is inspired by UseYourLoaf’s blog
About
Confusians
© 2015 - 2026